Showing posts with label fall. Show all posts

Monday, October 22, 2012

Pumpkin Patch 2012

So, if you have ever read any of my previous pumpkin patch posts, and you aren't family (or very close friends) feel free to skip this one. Same pumpkin patch, different year.:) 
 
But we always have fun. And to me, it is actually really special to get to go to the same patch again and again. I didn't get to do the same things "every year" growing up-although we made plenty of special memories as a family, just in a wide variety of places! Anyway, I just love having our own family traditions, and getting to repeat them each year while watching our kids grow!
 
It is fun that the design and theme of the corn maze changes each year. This year it was a mining theme, and we searched to find the miners and their equipment. 

Carson was a total cheeseball every time he saw the camera. Josie and Joel, on the other hand, were all business about tracking down the clues. 

The corn this year was huge! I don't know what they are feeding that stuff, but we saw a ton of enormous ears. The stalks were really tall, too. 

The cuties and me in the corn. I love the stalks as a backdrop, and I love how peaceful the maze is. You feel isolated, yet in a serene way. Only cornstalks and blue skies as far as the eye can see...

And this ham! No, we did not pick any corn-I strictly forbid that! This piece was on the ground- great, since it looks like Joel is *actually* eating it!


Carson was in a hurry to get his pumpkin. He ended up choosing a green one (not this one, I somehow missed getting a picture of him with that one!), that looks like the "Squash" from Plants versus Zombies. He got the idea from his Uncle Steve!

Jocelyn was a little more choosy. She went for a traditional orange one.

One of Joel's favorite parts was the pigs. He was very enamored of them. I am sure they were handy to have around the farm to take care of all of the overripe pumpkins!

So, I picked a red pumpkin and a white one. And then as we were leaving ,literally- as we were pulling away in the car, I decided I *had* to have this gigantic pumpkin! Joel hopped right out and bought it for me-much sweeter than a bouquet of flowers, I think. My giant pumpkin is holding court on my porch right now over all the little pumpkins, and he makes me happy every time I see him. Joel too.;)
 
And we put a big check mark next to our annual family visit to the pumpkin patch!

Wednesday, October 17, 2012

"Candy Corn" Tulle Wreath


I have seen these tulle wreaths for a while now, and have even helped make one, but I hadn't had a chance to do one myself. I was pondering ideas for a fall wreath, and I decided it would be really cute to do a tulle take on candy corn!


These are so simple to make and only require a few "ingredients"-all from Hobby Lobby:

-An extruded foam wreath, you can use any size you like, but I chose an 8 inch one.
-Tulle in the colors of your choice. I picked traditional candy corn colors-yellow, orange, and white sparkle! I absolutely recommend using the rolls. It is sooo much easier than trying to cut full yardage tulle. HL puts them on sale for half-price and they are only about $2 per roll. I didn't use all of any of the colors except white (sparkle is only sold in 10 yard lengths, versus 25 yds for the regular colors)
-Candy corn ribbon
- I found these fun candy corn decorations in the fall section. They are basically like the hardened "Fimo" clay.

Start by cutting your tulle in 12 inch lengths. I wrapped mine around a ruler and cut it at both ends. It is quick and easy.

I found it easiest to hold the wreath between my knees to keep it steady. I used two layered pieces of tulle. I alternated orange, white and yellow to make it look like candy corn!


All I did was simply tie the tulle on- I didn't knot it. There really isn't any need. The tulle is stiff enough that it stays in place.
 
I pushed the tulle around as I went to make sure it was nice and full. It is easy to make sure that you end on the right color by simply pushing it closer together.
 
 
I made a simple loop bow- I did three figure eight loops and hot glued them to each other. I put a small single loop in the center. I glued two of the candy pieces in the center and then made ties with pieces on each end. I always attach my decorations with straight pins- especially with a wreath like this, I can remove all the components and reuse the wreath!
 
 
I used a longer piece of the ribbon for a hanger and it was done! This is such a quick and easy project- I would say it probably only took me about an hour start to finish. And it makes such a "sweet" decoration!:)


Tuesday, October 25, 2011

Burlap and Felt Fall Wreath

Our moms' group at church has a delightful sharing time we call "Mom Moments" where a different woman shares about something she has a passion or talent for. This last week, one of my friends shared about wreath making. She inspired me to whip up this super speedy fall one!


This is not much of a tutorial, just because this was so easy to make, but if you want to try your hand at it you will need:

Wreath form- I used straw because I had picked one up at Goodwill for $1. I left it plastic wrapped to cut down on the mess!

4 "sheets" of felt in whatever colors you want ($0.20 each at Michael's)

1/4 yd. of burlap, and believe it or not, I did not even use all of that! (Walmart, I think it was $1.50)

Total: Less than $4!

I have never crafted with burlap before, but I definitely will from now on. The woman who cut the burlap for me showed me that if you pull one of the strings from whichever direction you want to cut in, it leaves a nice little path to help keep your cut straight. Also, it gave me that "frayed" look I was going for. I eyeballed the width of my strips, and didn't measure, I just used the inital strip to compare the others to.

Then you just stick a straight pin through the end of your strip, through the wreath and start wrapping! When you get to the end, pull up the starting strip and tuck the end of the last strip under it. It is a little hard to show in the photo, but pretty easy to understand when you are actually doing it.

Then-on to the fun part! Wrapping the wreath took about 15 minutes, the flowers can take as much or as little time as you want. I used this tutorial to make most of them, I just varied the width of the felt, and how deep and far apart I made the cuts, to get the different looks.


I also made a few using this tutorial, and I really should have followed a template. I just free-handed the shapes, and they did not come out the way I wanted them to. You can pick out those, they are the brown one at the end on the left, and then the tan one just to the right of the last yellow flower on the left. But they gave it some nice visual interest, and I really wasn't striving for perfection.

Then I stuck them on with straight pins and moved them around until I got a grouping I liked. Then some of them fell out when I dropped it trying to hang it up, and I got this. I actually moved them today, and am happier. The great part is that these would be so easy to switch out for the seasons and have a totally new wreath!


Scary and Sweet Treats

We were invited to a friend's home the other night for dinner, and I brought dessert. I wanted something a little more interesting than regular old brownies or cupcakes, and I wanted it to feel "fall-y" too! I found this cookie recipe at Land 'O Lakes website, and it seemed really easy-and I also had all the ingredients. A couple of tips: I lined my baking sheets with parchment paper. The cookies slid off like a dream-I am sold on that stuff! Next, I did not make my own frosting, I simple tinted a can of store bought stuff with a couple of drops of red and yellow food coloring. Last, I made my cookies much bigger than the recipe recommended. It saved me from rolling and cutting out 72 cookies! Doing the sandwich cookie with the cut-out top made it look festive without having to go to the trouble of icing shaped cookies. The cookies turned out perfectly, I was very pleased. Besides, no one thinks that I can cook. I can, I just don't usually like to!


This one was just for me- eyeballs! I don't know why, but I think the eyeballs everywhere this time of year are hilarious. I found this recipe for "Edible Eyeballs" and I really wanted to try it!


They also turned out perfectly (for the most part, I will explain later). Even the little kids knew exactly what they were, and it was so funny to hear them ask for an eyeball!


A couple of tips: I did not have an empty egg carton, so I simply stuck all my eggs in a bowl in the fridge so I could use mine. Second, many eggs these days have two tiny holes in the bottom for ventilation, in case a child puts them over his mouth. I found that sort of messed them up. The ones I did in the old eggs (without holes) turned out perfectly, where as the ones that had the holes in them had jelly bean goop on them (the black stuff you can see on some of them in the photo). Someone online said they used a camping egg container instead of the plastic eggs and I bet that would work really well, and you could skip worrying over the holes. I wanted to show you both the "good" eyeballs and the "bad" ones so you could see what I was talking about!


I was thinking these might be fun to make with mini eggs and use regular hard Lifesavers and mini jelly beans! It was super simple to do: you mix pudding, put a black jelly bean in a Lifesaver gummy and put it in the egg half. Then you fill them with pudding and freeze for 3+ hours. Then you pop them out by pushing with the back of a fork.


So cute! Well, for eyeballs... Anyway, I would definitely make these for a party-they are a little tricky to eat, but they look so cool. You could probably use green pudding and make monster eyeballs, too. This would be a great project for an 8-10 year old. They wouldn't even need any help from mom!

-In case you were wondering where I got the cute little pumpkin plates from, they are $0.50 each at Walgreens right now. I couldn't resist, and they are the perfect size for the kids!


Monday, October 3, 2011

Pumpkin Picking Pickers 2011

We went back to our favorite October spot again this year, Diana's Pumpkin Patch. It is a little out of the way, but we love it, so it is worth the drive. We had absolutely perfect weather, too! I loved the photo spot-"How tall this fall?". It will be fun to watch the kids grow from year to year-especially since I don't think our landlord would appreciate us marking heights on the door frame.

The corn maze was amazing this year! I have never seen it so tall and thick. You felt like you were in a hidden forest. Josie gives you a good idea of how big it was.


It is hard to get lost with Joel, though. He has a terrific sense of direction. The game in the maze this year was "Clue" and you were searching for the characters and weapons from the game. However, everything had cute farm twists like the "Dairy Barn" and the "Pig Pen" and the weapons were things like a pitchfork!


Carson led the way most of the time, and I have to say he did a pretty good job. I can only hope he inherits his dad's sense of direction and not mine!


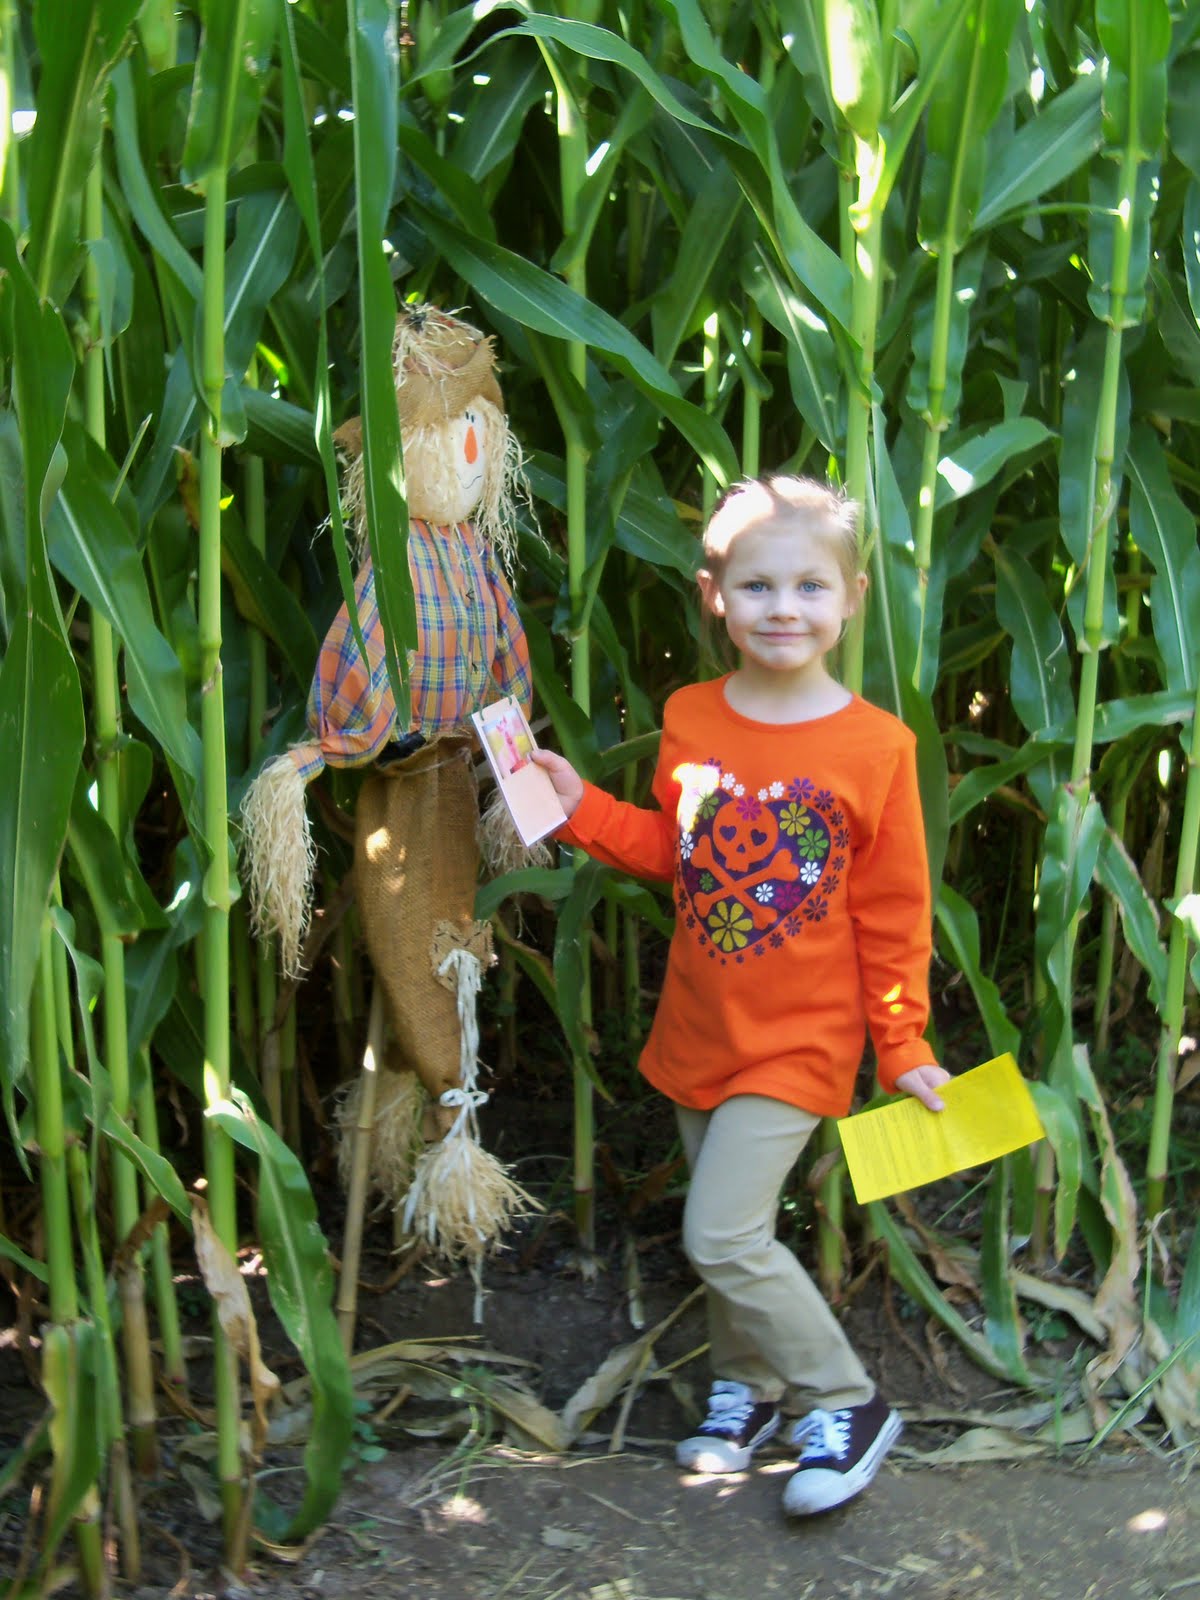
Jocelyn does pretty well, too. She found a scarecrow-they offered helpful hints about the maze. She was so excited!


The Picker "Go Team!". We successfully completed the maze-in record time for us. The kids did great; they weren't giving up.


I thought this would be a funny picture, but it didn't work out quite the way I wanted because *of course* the kids weren't cooperating! Where have the photogenic babies I had gone? But, it is a decent picture of me, which are as scarce as hen's teeth, so I kept it.


Joel got the hint. I showed him the last ridiculous photo I posted of him, so I think he is on a roll now.

I was a little disappointed that we didn't get to go into the actual pumpkin patch. Instead they grew the pumpkins down the road (literally) and then placed them in this field for the customers. They practice crop rotation, and this year the regular field wasn't available. I guess I would rather have superior pumpkins and good farming practices, but it sure is fun to go into the real field.


Carson made a beeline towards his pumpkin as if it had a neon sign over it. He was so happy! He did not want a huge one, this one was just his size. Although he still made me carry it.

Jocelyn was a little more choosy. She wanted a big one and this was the winner. I do not direct pumpkin choices at all. I love to see what interests them.


Jocelyn was put in charge of pumpkin transport. Can you see how happy she was about it?

The hay slide was new. The kids loved it. I thought it was so fun and old fashioned. The pyramid was really tall!

It actually went really fast, especially if you used the sack. (I know, because I tried it, but only once. The landing was really hard!)


Definite hit, and such a nice simple pleasure.


Jocelyn loved the bunnies, and they seemed to be equally fond of her. She still really misses S'mores, her rabbit. Maybe when she is older she can have another bunny, she loves them so much. It was nice to have a little visit.


Carson bypassed the rabbits in favor of plunging into the corn bin. It is always a hit with him, and I like it because it is not nearly as messy as sand! Although, I am pretty sure we brought a kernel or two home...


A final treat is to get rootbeer in a real bottle. I DO NOT like rootbeer, but I have to say, IBC in a bottle is not horrible. Not good, but not horrible, either.


Another not so terrible picture of me. Maybe someday I will remember to take off my sunglasses. It is just so bright out in the sunshine!


The final family photo. One of the sweet women who worked there offered to take this for us. I love that it is a family owned place. They are so nice there! I love that it is our special fall tradition, and I am guessing we will be going back as long as we live here. See you next October!


LinkWithin

Related Posts with Thumbnails